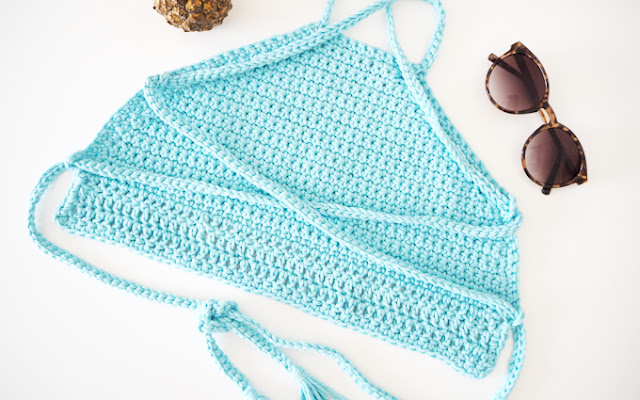
Crochet still remains a big trend this summer and in celebration of this month’s Coachella Festival I am going to show you how to make your own crochet crop top!
So whether you are heading to a festival or jetting of to the beach why not stand out from the crowd and make your own unique crochet garm this summer?!
Follow my easy & quick tutorial to learn how…
I have been making crocheted tops for the past two years but this year have found some really lovely chunky yarn that I love working with! Not only is it super soft but thick too so crochets up really quickly!


You will need:
Yarn (3 balls of 50g chunky) (alternatives listed here)
Crochet Hook (6 or 7mm)
Needle
Scissors
Tape measure
I used a beautifully soft, chunky cotton from Rico on Love Knitting (link here, alternatives listed here) to make my top, it only comes in 50g balls so I used just under three full balls. The ball band recommends 7mm needles but I used 6mm as I wanted a tighter stitch for my top. This yarn is great for a small, quick project due to being nice and chunky and has a lovely soft texture, perfect for a summer crop top.

For sizing I made a small/medium crop top that fits UK size 8/10. If you want it slightly bigger just increase my instructions by 5 or 10 stitches.
Start by making a loop in your yarn and chaining 45 stitches (or about 35 cm) to make the bottom of your crop top.
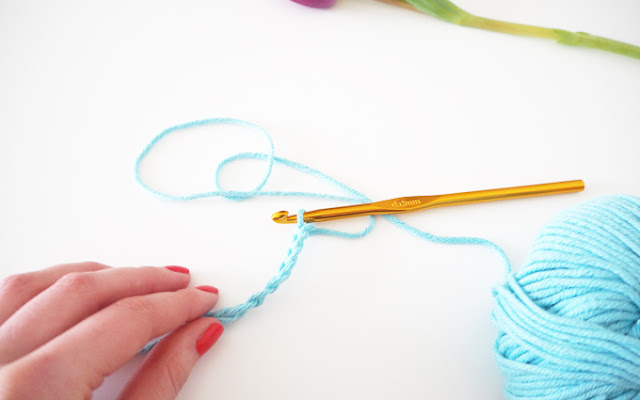

Top Tip: I am using UK crochet terms, so Double Crochet in UK terms = Single Crochet in US terms
Once you have a chain, turn your work and start a double crochet (single in US terms) back along the chain until you reach the end. Repeat for another 3 rows.
4 double crochet rows in total.
If you need a reminder of how a double crochet works, check out my How To Double Crochet Tutorial here…
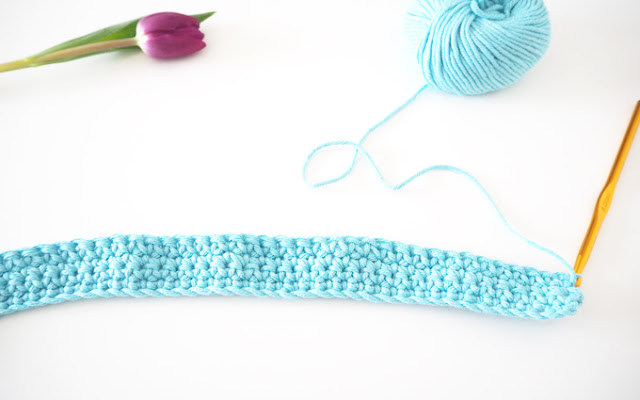
At the end of your 4 rows, turn your work.
Decrease one row at each end by chaining one then double crochet but missing the first stitch you would usually go into.
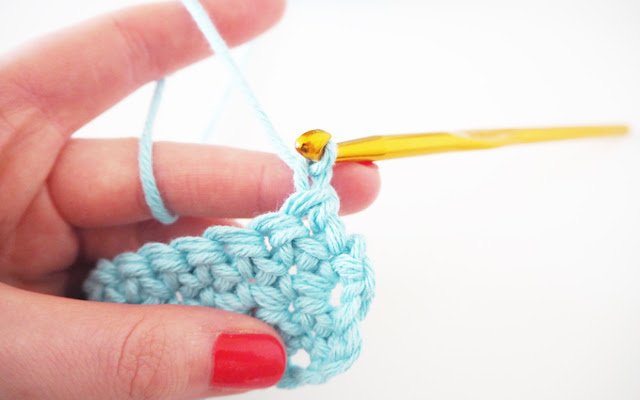
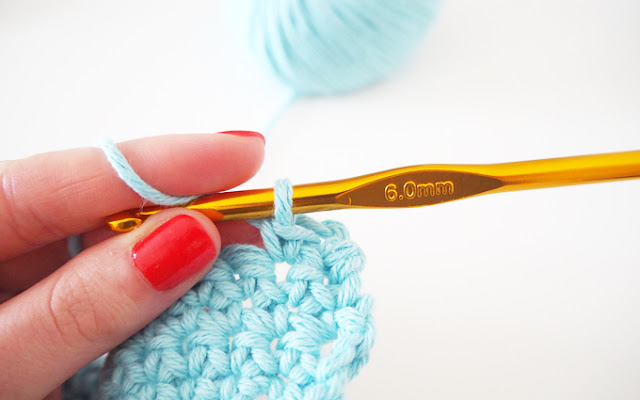
Double crochet as normal along the your work until the last two stitches. Decrease by missing the second stitch from the end and double crocheting into the last stitch like below.
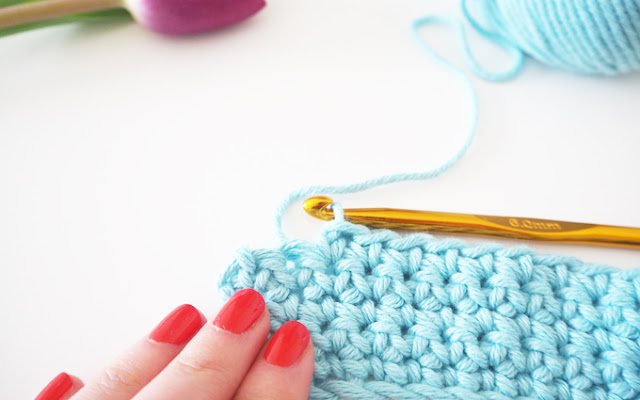
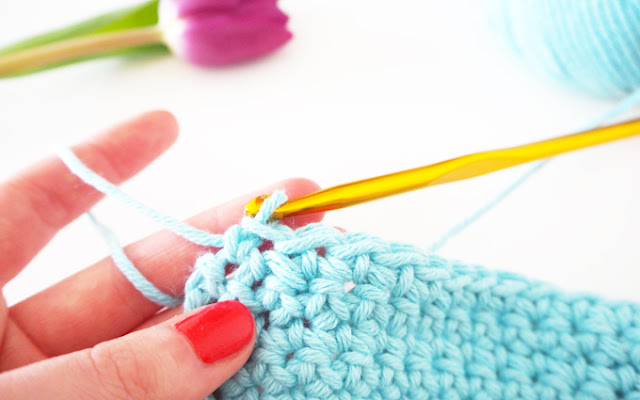
Turn your work and continue with three normal rows of double crochet.
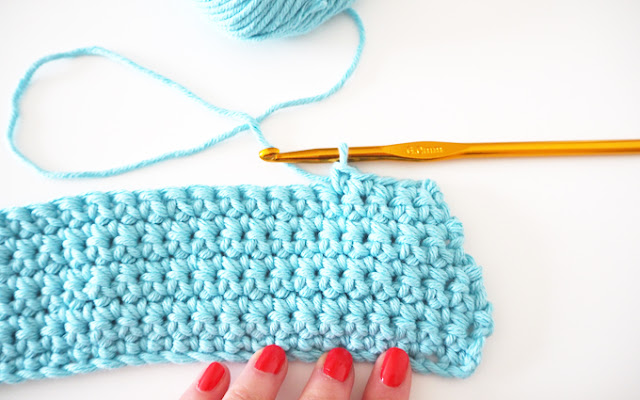
Decrease at each end for one row.
Then alternate between one normal row and one decrease row for three more rows.

After this, decrease on every row until you only have 10 stitches left. Your work should look like this…
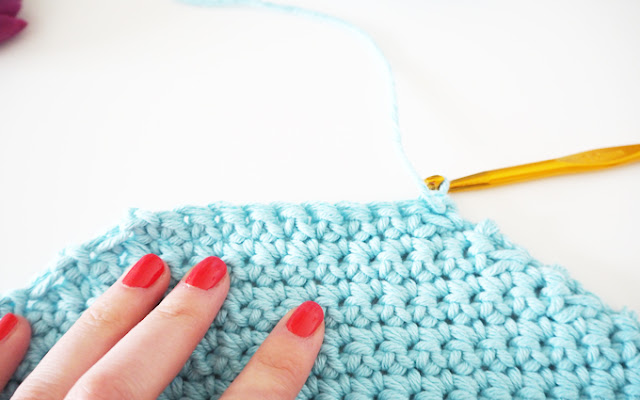
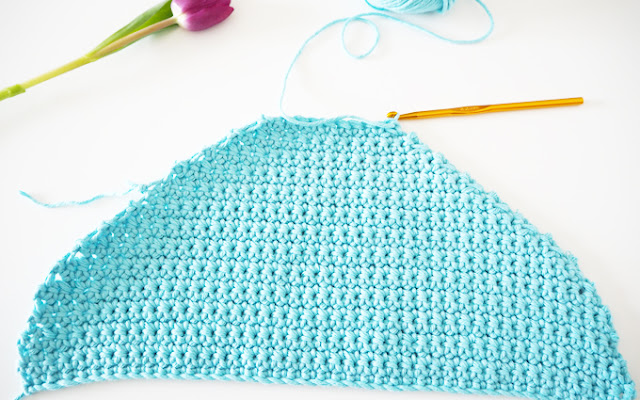
Cut and tie off this end leaving enough yarn to sew in at the end.
Make another loop in your yarn and starting at the bottom right hand side of your top, double crochet all the way around to make the edging.

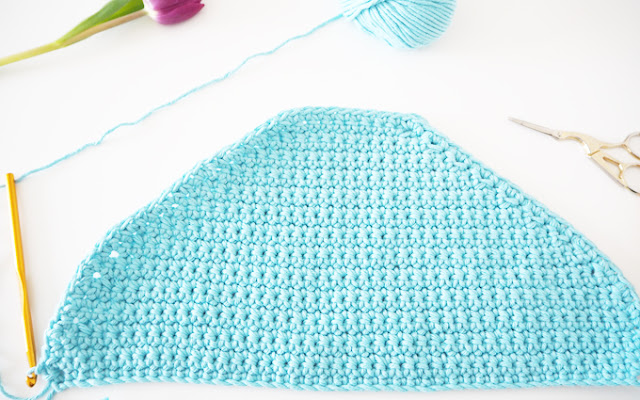
Once you reach the end on the other side, turn your work.
Next you are going to work a second layer of edging but adding in the loop holes for the straps and the straps themselves.
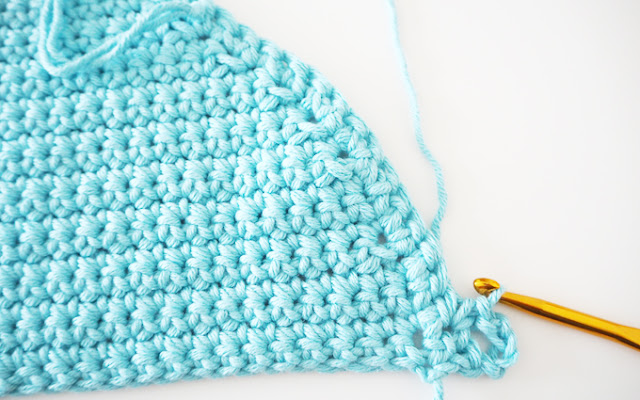
To make the first loop: chain 4, miss one stitch then double crochet into the next stitch. Work 10 double crochet then make another loop. Continue double crochet until you reach the top stitches that make up the neck line.

Next you are going to make the straps. Chain away from the top until you chain measures 150cm. The straps need to be really long as they cross over the back three times.

Once your strap is long enough, turn back on yourself and work a slip stitch down the strap until you reach the bottom.
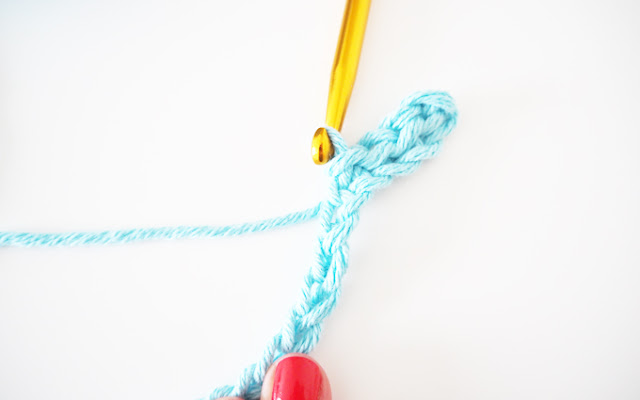
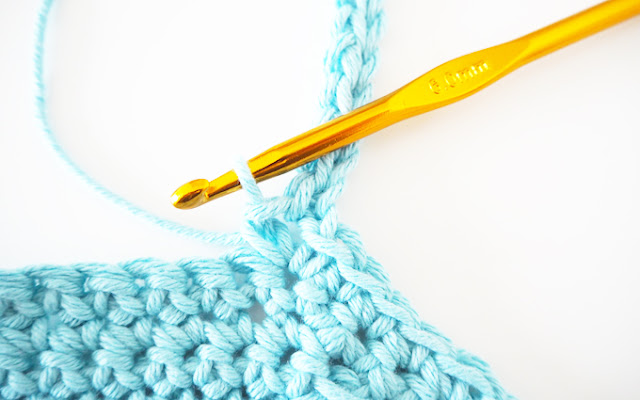
Once you reach the bodice of the top again, double crochet into the same stitch you left on then begin working along the top in double crochet until you reach the stitch the second strap needs to go in.
Repeat to achieve another strap the same length.
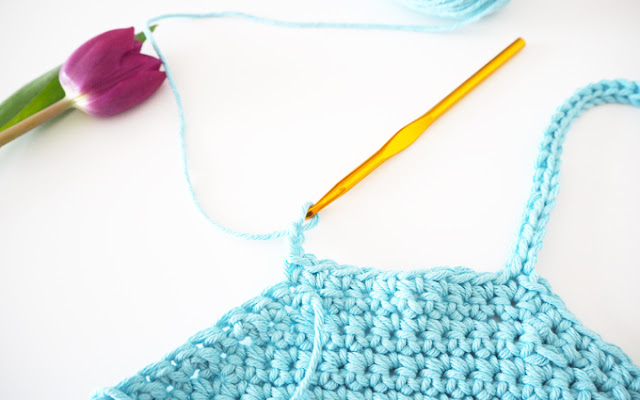
Work back down the other side the same as the right side including two loops in the same place again.
Tie off your work.
Next you are going to add the trimming along the bottom of your top. This will make your top a little longer. You can add which ever stitch you like here but I used a treble to keep it basic. Another idea is to attach multi coloured granny squares or do a little scallop hem.
With your work upside down, work along the bottom of your crop top in a treble stitch for three rows.

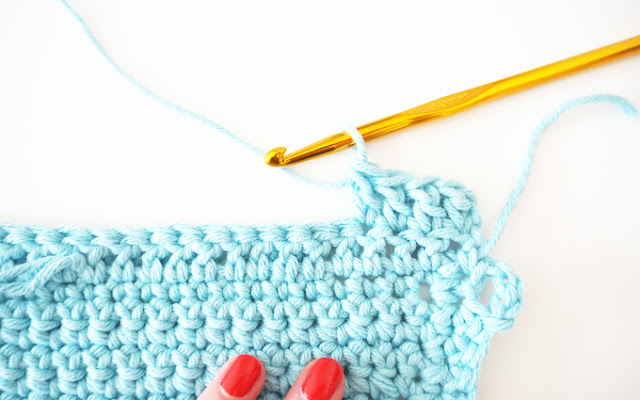

Edge the trim with a double crochet stitch to finish it off.
Tie off your work then tie in any loose threads with a large sewing up needle.
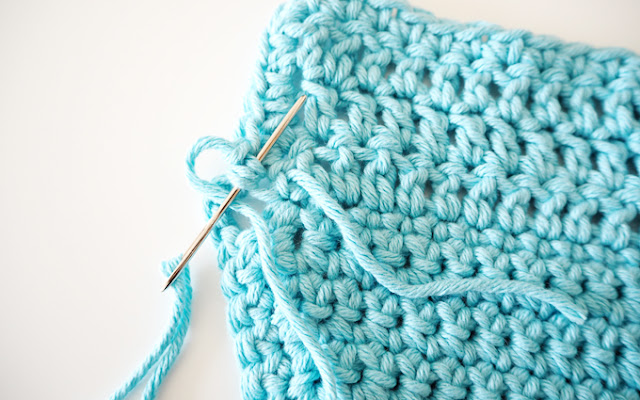
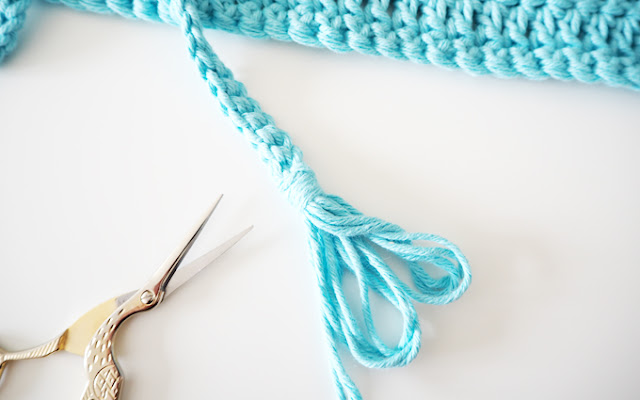
Add finishing touches like a tassel or beads to the end of the straps.
And you are done!

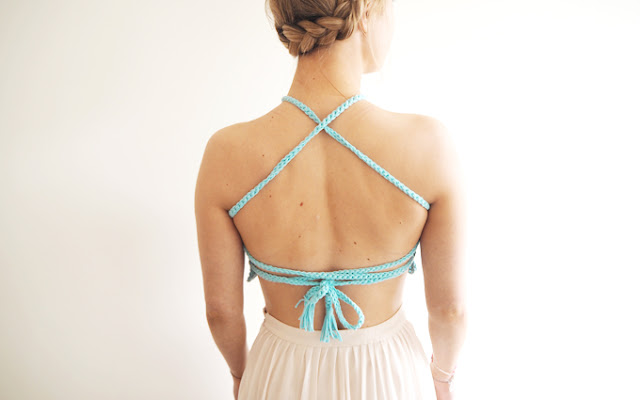
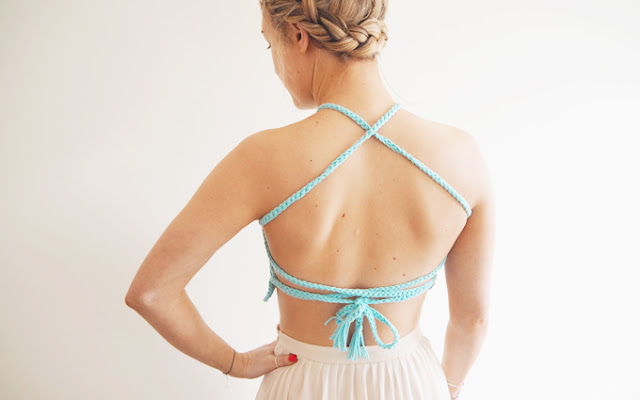
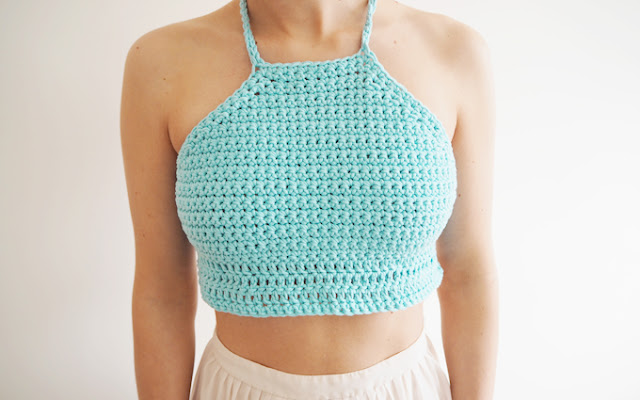

Cross over the straps and pass through the loops at the side before tying around the back. This top makes the perfect summer accessory to wear on the beach or in the fields of your favourite festival. I love making these tops as they are a quick and fun project that gets me excited for warmer weather. The chunky cotton yarn is soft against the skin and moulds to fit around the body without loosing its shape.
I hope you have enjoyed this crochet tutorial as much as I have making it! Let me know it has been helpful and if you would like to see how I make my other styles of crochet tops in the comments below!
Don’t forget to check out my other DIY tutorials and follow my blog on Instagram and twitter here.
Anna x
Want more DIY inspiration:
I LOVE TO CROCHET AND LEARN AND I HAVE MY DAUGTHER CROCHET ASWELL SHE LOVES IT TOO PLUS LEARNING LIKE MOM TOO THANK YOU FOR THIS PAGE FROM MARYANN BRENDLE
Author
Thank you, so glad you enjoyed it.
Anna x
SO cute! and I love the color you used! Hoping to adapt the pattern for someone a little bigger 😉
Great work! I am in love with this crochet top. Its an awesome pattern. I have a need to give this a try. Thanks for the tutorial.
Author
Thank you so much! So glad you enjoyed it! Its one of my favourite patterns to make in summer!
Anna x
I love this.
I literally just requested one of my friends. But now I will try to makle my own. very good!
I made this and it turned out beautifully! 100% would recommend
Author
Ah so glad you found it useful! Thank you! xx
How are you keeping it from curling as you go? I’m 2 rows in and its spiraling.
Author
Hi,
Yeh mine did this a bit, it should straighten its self out the more rows you make! Just make sure you always crochet into the same side if its spiraling! Hope that helps lovely, good luck!
Anna x
Hey 🙂
I really want to try it but I never croched befor and I wanted to buy the same yarn as u did but it’s not available anymore 🙁 could you please give me an alternative to use?
Thanks a lot
Greetings from Germany 🙂
Author
Hi,
Yeyy so glad you want to give it a go. Here is a link to some alternatives, if you scroll down you will find some alternatives to the Rico cotton : https://yarnsub.com/yarns/rico_design/fashion_cotton_big
Hope that helps, good luck!
Anna xx
This is sooooooooooooo cool! I love how beautifully simple this is!
Author
Thank you so much! Its a really fun design to make!
Anna x
Now when you go from chaining two at the ends to chaining one when you start decreasing, do you go into the tops of the chain one at the end as well at the end?
Hi
Where do I find the other patterns shown, like the picot edge type.
Thank you
Could this be made into an infants top?? Let’s say 12-18mths??
Hello! It’s beautiful and it was easy to make. I would point out though that ladies with a large bust will have to make additional compensations. I followed your pattern (adding stitches for a size Large) and it was way too small around the chest. (It draped well but barely covered my bra.) Just a thought in case someone else with a DD+ chest wants to try it. 🙂
Author
Hi, Thank you, glad you liked the post!
Anna
I just started crocheting about 2 weeks ago and this tutorial was super easy to follow! I’m using worsted/Aran yarn so the measurements are a little different but I figured it out!