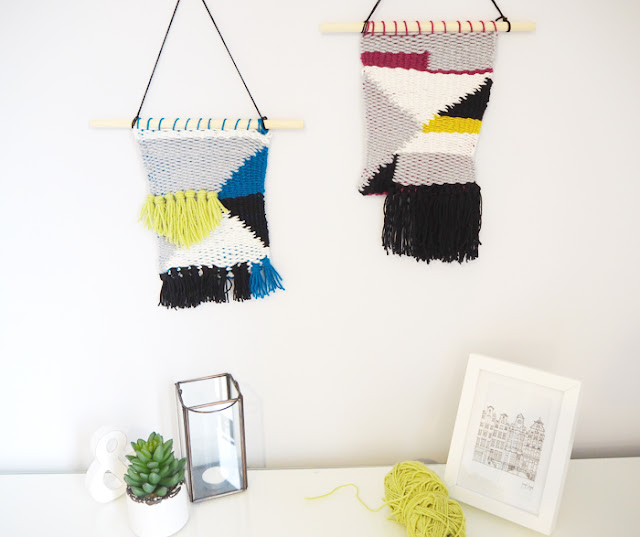
Need to brighten up a wall in your home this winter, I have the perfect DIY project to try…
These handwoven wallhangings are so easy and quick to make and help use up odd ends of yarns you might have lying around.

Here’s what you will need…
Cardboard (cut a little bigger that you want the finished piece to be)
Wool or yarn in your choice of colour
Scissors
Large needle
Wooden dowel rod ( approx 9/12mm)
Tape measure or ruler
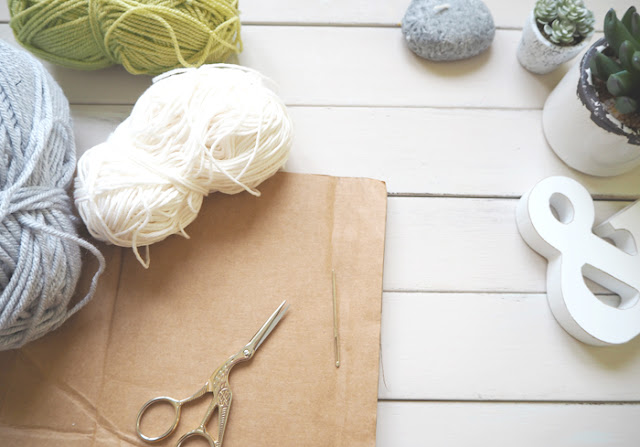

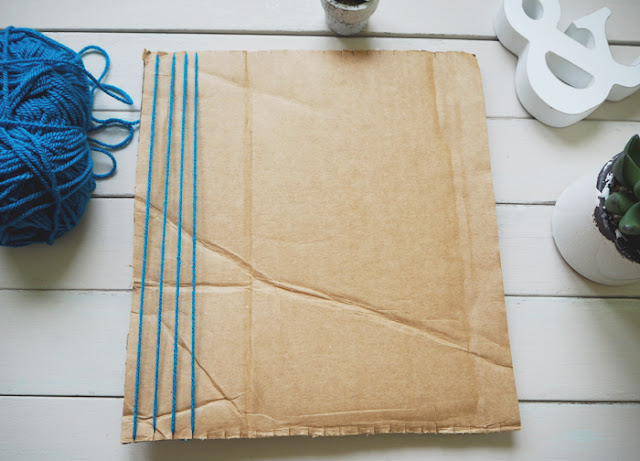
To make your mini ‘loom’ or base to start weaving on, start by cutting small even cuts into the top and bottom of the cardboard, I cut every 1cm. The cuts don’t need to be big, they are just to hold the yarn in place.


Grab your favourite coloured yarn and slot the yarn into the first cut, I chose a bright one so it would just peak out from underneath the other yarns. Lead it down to corresponding slot at the bottom of the cardboard and hook round, then move back to the top and repeat until you reach the other side.
Now you have made your loom!


Time to get creative!
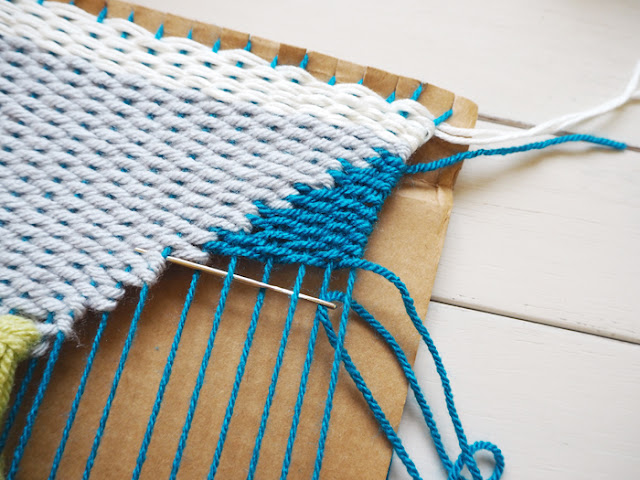
Make your first line of weaving by starting at the top and moving your needle across the board, under one thread, over another under one and over another and so on. Then do the opposite on the next line of weaving.


Try not to pull too much at the sides as your weaving will turn out in a hour glass shape at the end, and gently push each row up together with your fingertips to get rid of any gaps.


It really is that simple, once you have mastered it you are free to dream up any design and colour combinations you want. Just swap yarns leaving a little extra so you can sew in the tail ends when you have finished. I found a variety of thicknesses worked best, here I used a thin cotton (doubled up) along side a chunky wool.
If like me you want to create a diamond shape, weave like normal but miss each alternate thread when you reach the end.


To make tassels…
Cut a bunch of 4 or 5 yarn ends together and thread the loop through you needle. Then pass the loop through your design at any point, remove the needle and make a knot by passing the tail ends through the loop, a bit like a tie.


Fill in any gaps with tessellating triangles or lines. I love these rich blue and green tones together, have some cushions in a similar colour pallet that will look fab along side.

Once the whole board is finished all that’s left to do is take it off the board and hang it. I bought a 9mm thick dowel rod from my local Homebase and cut it down to just a little bigger than my weaving for it to hang on. I liked the light natural colour of the wood but you could always give it a quick coat of paint beforehand if you want.
Slowly unhook each loop at the top and pass it over the dowel, until you have all of them off the cardboard and onto the wood. The bottom of the weaving can be unhooked too, I kept it in place with a separate line of stitch.


To finish…
Make a loop of thread for you masterpiece to hang with, then trim or sew in any loose ends of yarn there might be at the sides. I cut my tassels in a neat little arrow shape on this one, looks fab along side the other triangle shapes in the design.


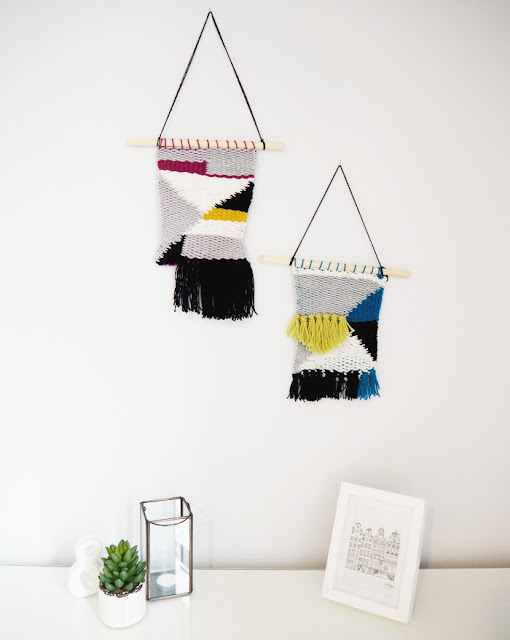


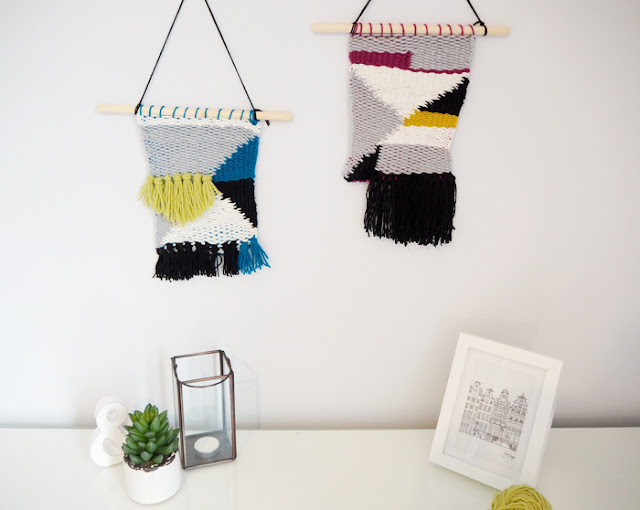
It’s that easy!
The great thing about it is that once you know how to weave you can go for it, and create something beautiful. They might be a little wonky in places but I like the handmade charm about them and adding bright colours really helps cheer up a room.
I’m thinking another one in an orange colour way would look fab hanging along side these two on a wall in my living room.
Follow my pinterest board to be inspired by more wallhangings ideas and follow my twitter and instagram to see what Ill be making for my next DIY…
Thanks for reading,
Anna
x
Follow Anna | Made Up Style ‘s board | Wall Hangings | on Pinterest.